I often take screenshots of webpages and the Windows apps I test for work, and sometimes need to record my screen for instructional videos. Until recently, the built-in Windows Snipping Tool was my go-to app because it’s a useful Windows 11 feature that gets the job done with basic screen capture and recording.
It worked just fine until I needed to take a full-screen shot with a time delay, and I realized it wasn’t up to the task. The timer option is blanked out for full-screen capture and only works in the rectangle, window, and free-form options.
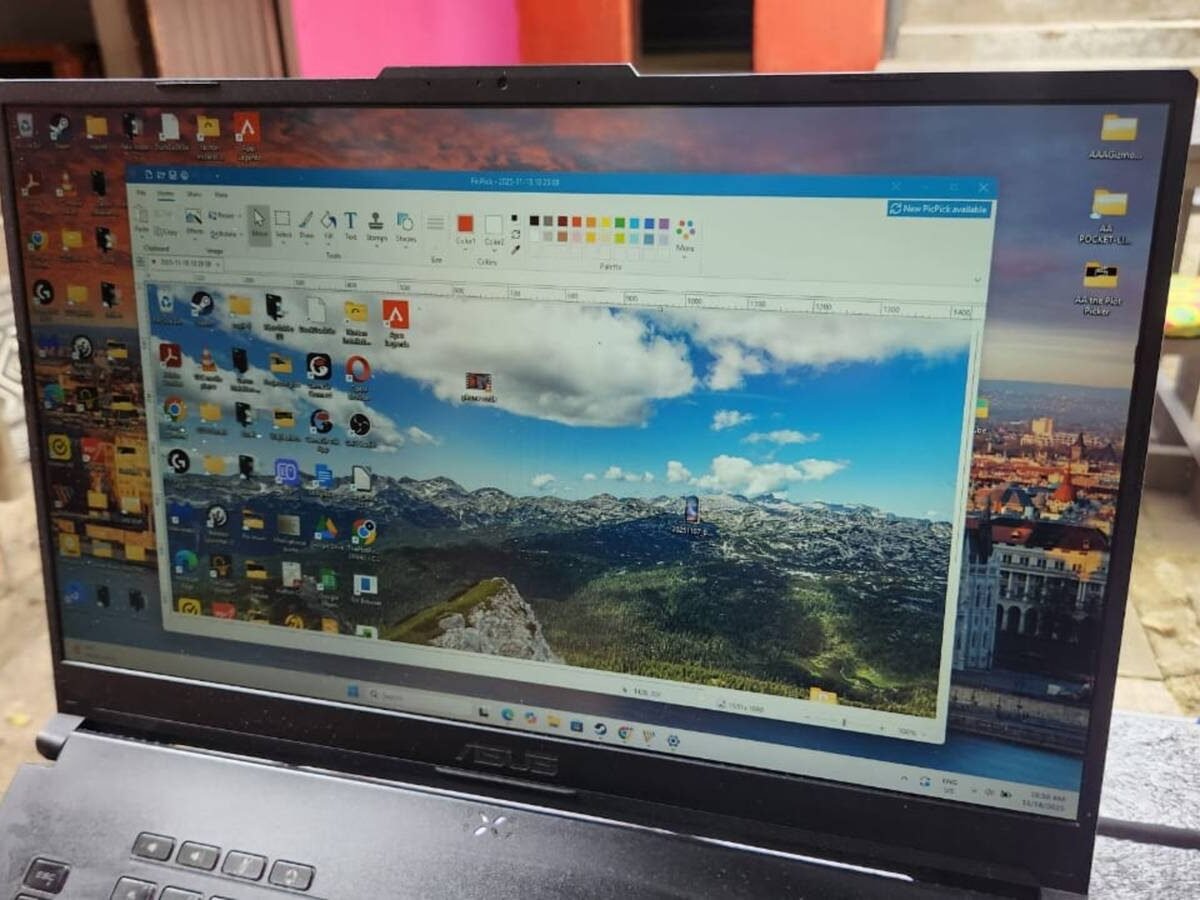
I needed a new screen capture tool that met my requirements and came across a free Windows 11 app called PicPick. The app is worlds apart from the Snipping Tool, and I was amazed at PicPick’s modern interface and the number of advanced tools it offers. Now there’s no turning back, and I use these PicPick features because Snipping Tool is outdated.
Multiple screen capturing modes
Grab any area of your screen

PicPick offers numerous screen capture modes to fit any situation. The Full-screen, Window, Freehand, and Region options match Snipping Tool’s basic functionality, with the option to set a three, five, or ten-second timer, depending on my needs.
It takes things a step further with a Fixed Region option that captures a set area and a Windows Control option that selects a single open window. I often use the Scrolling Window option, which lets me click an open window and scroll down to capture parts that aren’t currently displayed on my screen.
After capturing my screenshots, I can save them in popular formats, like JPG, PNG, PDF, BMP, or GIF. With Snipping Tool, I’d need to export the file to Paint for editing, but PicPick has a built-in editor to add labels, arrows, and other annotations. I usually work with a multi-display setup and can choose to capture images from one or more monitors, depending on what I’m doing.
Image Editor
A built-in graphics tool

Switching between apps wastes time, so I prefer using PicPick’s built-in image editing tool rather than exporting my screenshots to Paint or Pixlr. The user-friendly interface shares a similar layout and icons with Microsoft Paint, and anyone can get the hang of it in no time.
Switching between apps wastes time, so I prefer using PicPick’s built-in image editing tool rather than exporting my screenshots to Paint or Pixlr.
The Effects tool is handy for enhancing my screenshots with frames, watermarks, or greyscale. It also includes tools, like Color balance, Hue/Saturation, and Brightness/Contrast, with convenient sliders to fine-tune the colors. The other features, like the Draw, Fill, Shapes, and Text tools, work exactly like in Paint.
The only downside is that there are no AI features to remove backgrounds or magically erase unwanted objects.
Whiteboard
Great for presentations

The Whiteboard function makes PicPick perfect for presentations or educational lectures, as I can add elements to my screen to highlight specific text or images. It’s a breeze to use, and clicking on the function opens an unobtrusive toolbar at the top of the screen. I can then use the pencil, arrow, line, or shape tools to add various elements to webpages or PowerPoint presentations.
PicPicks Whiteboard tool offers a range of colors to highlight specific screen elements or text, and I can easily adjust line thickness to make arrows and shapes wider or narrower. There’s a zoom function to make smaller text more legible, and the undo and redo buttons are ideal for correcting errors with a single click.
When I’m done, I can either save my screen for future presentations or discard it and start a fresh project next time.
Screen recording
The easy way to make presentations

I use PicPick’s screen recording feature for making Windows troubleshooting videos for YouTube. It’s simple with the handy toolbar, with all the functions appearing at the top of my screen when I click the Screen Recorder tool.
I can then choose to record either my full screen or set a specific recording area using various preset pixel resolutions or aspect ratios. After that, I decide whether to save my videos as MP4s or GIFs, and I’m ready to go.
The best thing about PicPick’s screen recording feature is its ability to capture audio from the speaker and microphone. I can then capture myself speaking while making a video or add music in the background. The settings feature lets me choose my video and audio quality, and I can decide whether to add a time delay when recording my screen.
Color Picker
Match any color in seconds

I know it’s not the most popular feature, but the Color Picker is useful in scenarios when I’m working with graphics and want to transfer a specific color from one image to another. A zoomed cursor appears on my screen after opening the Color Picker. I then move it across my display and click on the color I want to capture.
Then the Color Palette tool opens, highlighting the exact color and its corresponding code on the HSL and RGB spectrums. After matching the color, I can add it to PicPick’s custom colors list for later use. I can also save it in HTML, RGB, C++, or Delphi formats if I want to export it to other apps.