When I was in college, I didn’t go anywhere without my iPod. On the train, in the car, while studying in the library, my pink iPod Nano was my constant companion. And while I don’t think I’d trade the freedom that an iPhone plus a Spotify Premium subscription has afforded me in 2025, there is a certain nostalgia I have for creating the perfect playlist and jamming out to Fall Out Boy, Panic at the Disco and My Chemical Romance in my headphones while reading a book.
While the experience isn’t exactly the same, I recently found a way to create playlists and play music on my jailbroken Kindle. The process is actually rfairly simple, and you can be up and running with your old school music player in minutes.
Jailbreaking your Kindle is the first step
Sorry, this won’t work in Amazon’s walled garden

Though your Kindle is capable of plenty of things on its own, playing music is unfortunately not one of them unless you jailbreak your device. If you haven’t already, I recommend following YouTuber Dammit Jeff’s video guide for jailbreaking a Kindle, especially as he includes instructions for both Mac and PC users — the jailbreaking process is a little different depending on your OS.
Also, if you haven’t updated your Kindle to the latest software yet, make sure that you DO NOT install any available updates before you jailbreak your device as users have been reporting issues with installing the jailbreak post-update.
No download or restart required

Once you have completed your jailbreak and have the KindleForge alternative app store installed, it is time to install your media player. Tap on the KindleForge icon and scroll down until you see Sox Media Player and then tap the Install Package button. The process should take just a few moments, and then you can move on to the next step, no reboot or restart required.
Connect your Kindle to your computer and load in your playlist
Make sure you are loading MP3 files only

Connect your Kindle to your computer using the USB File Manager and then locate the folder that says music in your file directory. Then drag and drop all of your MP3 files into this folder. This is where any Elder Millenial skills you may have will come in handy, as the lack of a media interface for this app means you’ll need to add songs in the order in which you want to hear them. So if you don’t want to hear just one album play after the next, you’ll need to channel your inner DJ and figure out a song order that fits your vibe. When you’re done adding songs, you can disconnect your Kindle from your computer.
Connect your headphones to Bluetooth and listen to the tunes
The interface isn’t the most intuitive but it works when you want to listen to music as you read

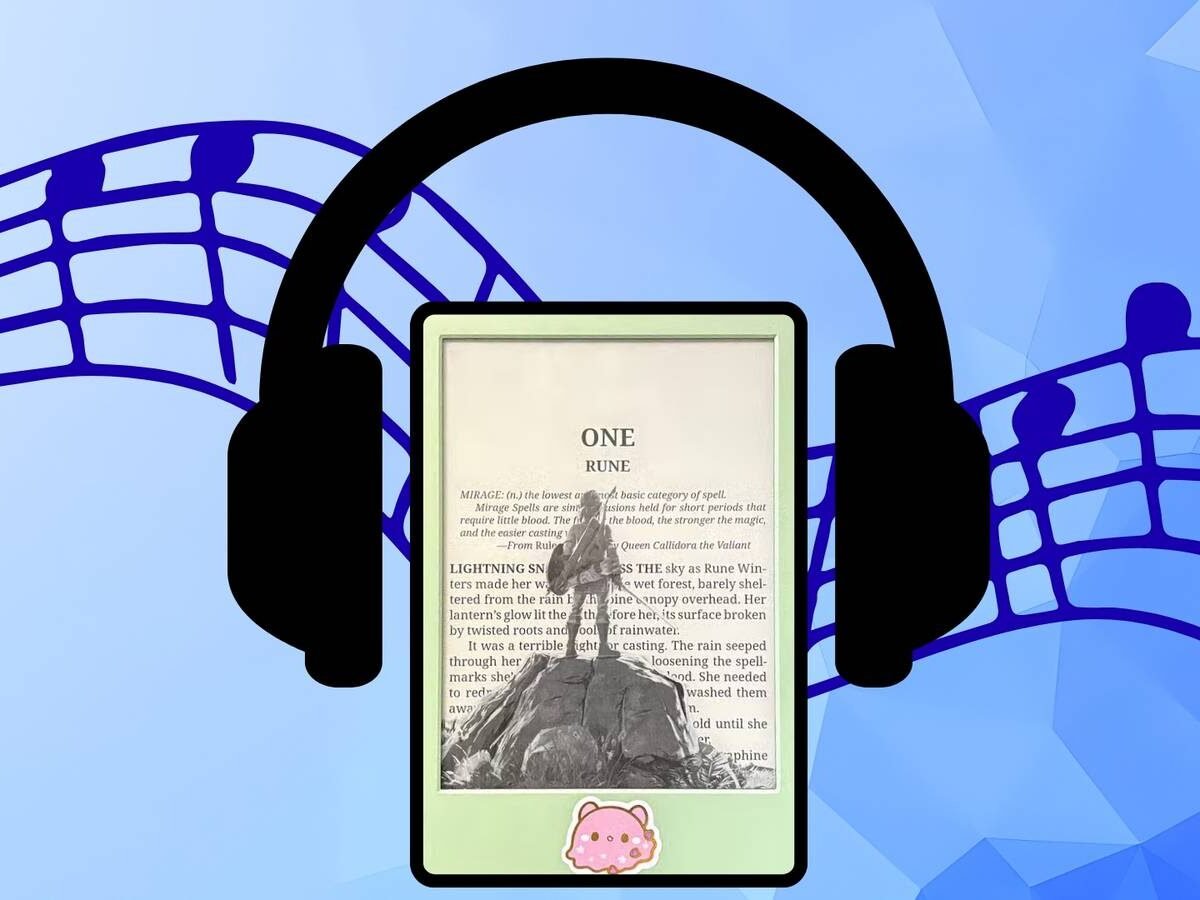
Because the Kindle doesn’t have onboard speakers, you’ll need to listen to your music via Bluetooth headphones. Fortunately, connecting headphones to your Kindle is very easy. From your Kindle’s home screen, tap the three dots in the top right corner. Then tap Settings, followed by Wi-Fi and Bluetooth. Enable Bluetooth on your device by toggling the switch next to the word Bluetooth. A new setting will appear underneath that says Bluetooth devices. Tap it and then connect your headphones. You can also connect a Bluetooth speaker if you like.
Once your headphones are connected, tap on the Kual icon on your Kindle, followed by Sox Media Player and then Play all files in Music Directory. Your playlist will then start playing in order. Unfortunately, there is no way to skip ahead but you can pause your media by using the Stop Playing with Bookmark command which will suspend your playlist until you’re ready to return to the tunes. From here you can feel free to exit the Kual app and then read in your app of choice as the music will keep playing until you turn it off.